
Butter boards may be passé by now on social media, but there’s something even more impressive than spreading flavored butter on a cutting board: making the butter itself. From garlic and rosemary to maple-pecan, homemade butter opens up a world of possibilities. It’s an easy, one-ingredient recipe that feels a little like magic, transforming simple cream into a soft, golden spread that you can brag about around the holiday table or even present as a fairly impressive hostess gift.
The process is part kitchen experiment, part alchemy, and once you’ve done it yourself, you’ll be giving store-bought sticks of butter the judgmental side-eye.
GETTING STARTED
The recipe I followed called for two cups of heavy cream; however, if you’re working with a smaller blender, I recommend filling it only halfway. That extra space makes it easier for the buttermilk to separate cleanly later on. And here’s an important tip: Before you make butter, you’ll make whipped
cream! Don’t be alarmed when you check mid-blend and see a fluffy, whipped texture. That’s the halfway point. Keep going.
I noticed a change in the sound of blending when the butter started to separate. Peeking inside, I saw that some liquid had appeared and the texture had turned grainy. That’s your cue that the transformation is underway.
At that point, I drained off the liquid (that’s buttermilk!) and continued blending, stopping periodically to pour out the excess until no more liquid remained when I squeezed the solid mass. This part felt meditative. Pressing out the last traces of liquid, I was amazed to realize that with nothing more than cream and motion, I had created something entirely new.
THE TRANSFORMATION
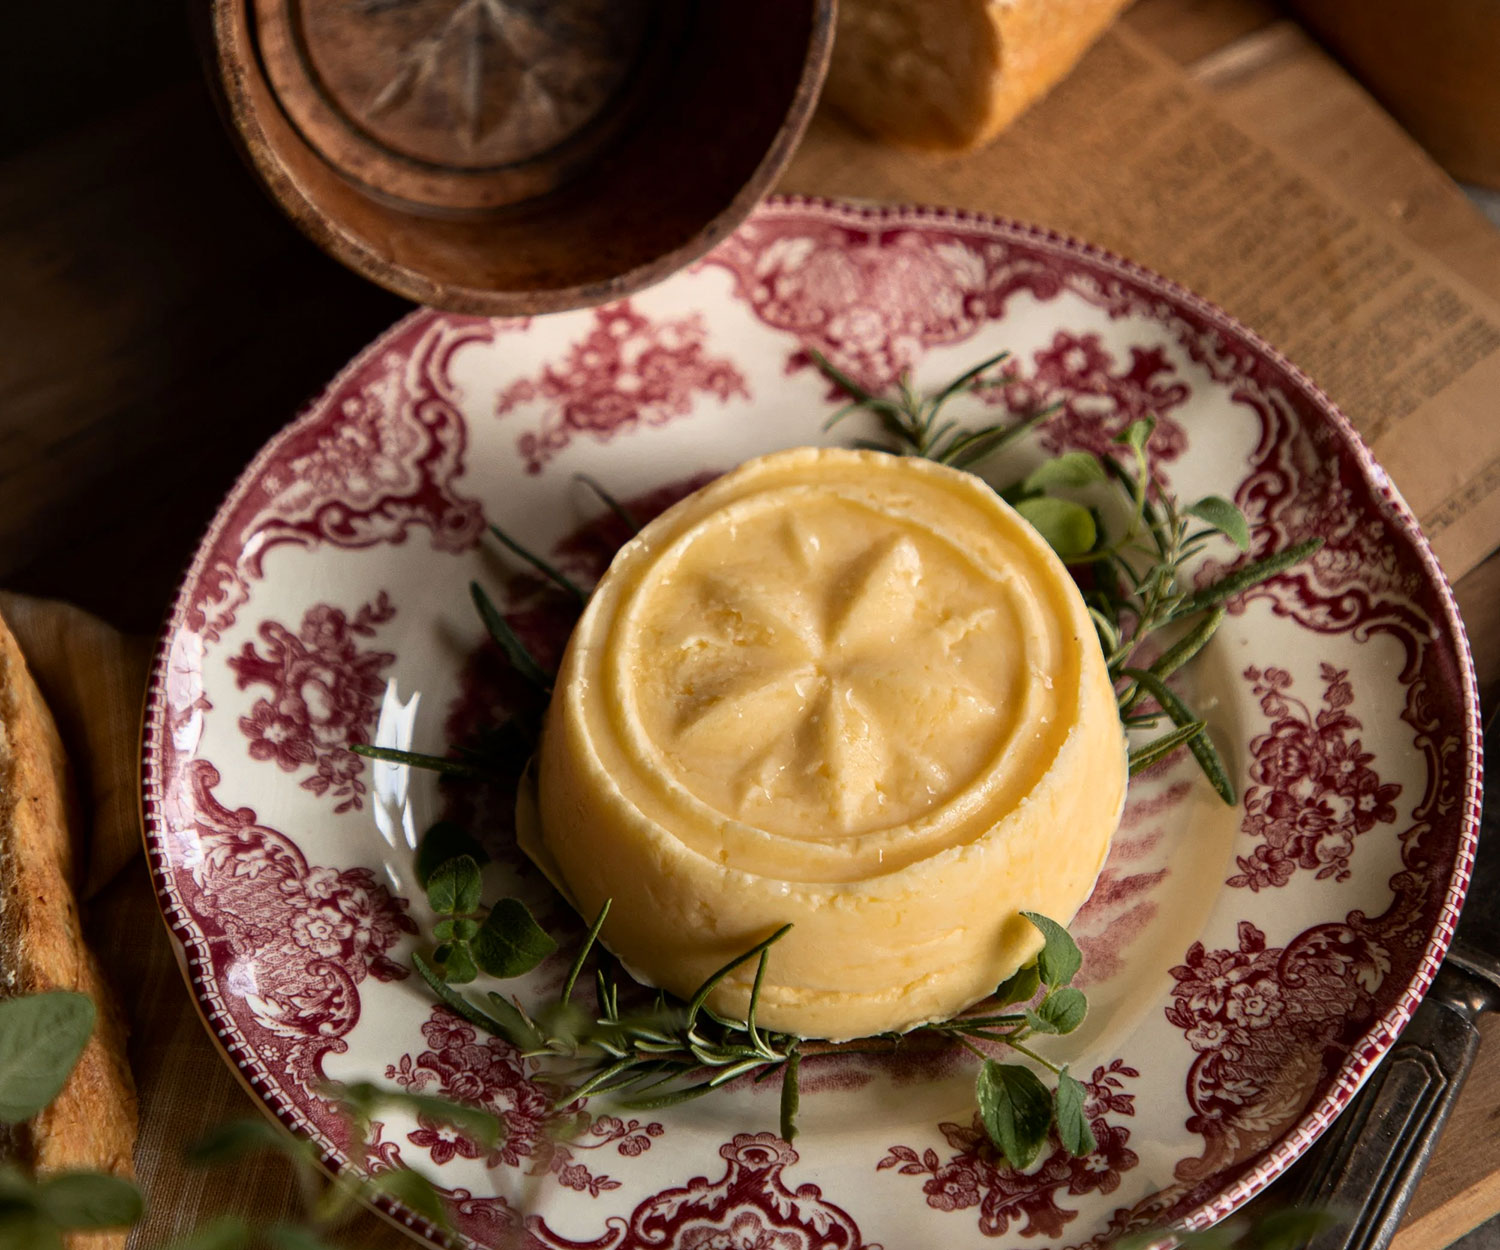
When I scooped my butter into a bowl, it was soft — more like a whipped butter — but I knew it would firm up after chilling. You can shape it in a mold (find neat vintage or custom ones on Etsy), a ramekin, or simply wrap it in waxed paper. I covered mine in the bowl with waxed paper and placed it in the fridge to solidify.
This is also the perfect stage to add mix-ins. For a basic salted butter, stir in a pinch of salt. Or experiment with herbs, garlic, citrus zest, or even honey. Infused butters are an easy way to elevate an everyday meal. Think rosemary and lemon for seafood, chili and lime for corn on the cob, or a touch of lavender and honey for warm biscuits.
You can even go a step further by flavoring your butter to fit the season. In summer, try basil butter over grilled corn. In winter, blend in cinnamon and brown sugar and spread on toast or muffins.
On my first try, I knew I’d be serving pancakes for a breakfast-for-dinner later that night, so I stirred in a drizzle of pure maple syrup and some crushed glazed pecans, then chilled the butter for a few hours.
The result? Real butter, so creamy and flavorful. When I slathered it on warm pancakes, it melted instantly, creating a rich, velvety coating that I felt was richer and more wonderfully unctuous than any store-bought version. The flavor was fresh and slightly sweeter, with a depth that only comes from making something by hand.
Homemade butter has a texture that’s noticeably different. It’s softer, creamier, and carries the faint sweetness of the cream it came from. There’s no waxy residue or over-salted edge, just pure, clean richness. It may be less convenient than popping out to King Kullen, but like most things done from scratch or by hand, it’s worth it not just for the flavor but for the satisfaction.
How to Make Butter in a Blender
(Adapted from King Arthur Baking)
YOU’LL NEED:
• Heavy cream (at least 1 cup, up to 2 cups depending on blender size)
WHAT TO DO:
1. Pour the cream into your blender and blend on high speed until it separates fully into butter and buttermilk.
2. Stop the blender occasionally to scrape down the sides so all the cream gets incorporated.
3. Once the butter forms, pour off the liquid (the buttermilk) and continue blending until no more liquid drains out.
4. Transfer the butter to a bowl and knead or press gently to remove any remaining liquid.
5. Add mix-ins (salt, herbs, sweeteners) if desired, then chill before serving.
ELAPSED TIME:
This may vary depending on your blender; my Magic Bullet took about 10 minutes.
FINAL PRODUCT:
Softer and creamier than butter made using a mixer, since it retains more of the buttermilk.
TIP:
The cream tends to splash up the sides of the blender jar and stay there. Stop and scrape down the sides frequently to ensure even blending.